Air Conditioner for RV and Minibus AC installations share similarities, but with a greater emphasis on reliability, efficiency, and standardized production for commercial operation.
BUSCLIMA reminds drivers that before installing an Air Conditioner for either RV or Minibus AC, experience, specialized tools, and knowledge are essential to ensure safe and effective installation.
I. Assessment and Preparation Before Air Conditioner for RV Installation
Vehicle Assessment
1. Vehicle Model Confirmation: Different vehicle models (e.g., Toyota Lion, Mitsubishi, Ford) have specific air conditioning kits with different installation locations and brackets.
2. Check if there is sufficient space in the engine compartment to install the compressor, and whether the alternator (generator) has sufficient load capacity.
3. Confirm the roof load-bearing structure and interior space to ensure safe installation of the roof-mounted evaporator unit without affecting interior height.
Layout Planning
1. Ensure the duct layout allows for even airflow coverage of all seats, especially the rear seats.
2. Plan the routing of electrical wiring, control lines, and refrigerant pipes from the engine compartment to the roof/interior of the vehicle to avoid interference with existing components.
BUSCLIMA engineers state that AC for RVminibus air conditioning installation is not a simple DIY project and must be completed by an experienced professional automotive air conditioning modification shop or service station.
A high-quality installation ensures efficient, reliable, and long-lasting operation of the air conditioning system, providing a comfortable environment for passengers and reducing maintenance hassles and operational losses for the owner. For any questions regarding minibus AC installation, please visit www.busclima.com or contact busclima@kingclima.com for further technical support.
| Model | KK-30 | KK-50 | KK-100 | KK-120 | KK-140 | |
| Cooling Capacity | 3KW/10300BTU | 5KW/17166 | 10KW/34121 | 12Kw/42000BTU | 14KW/48000BTU | |
| Voltage | DC12V/24V | DC12V/24V | DC12V/24V | DC12V/24V | DC12V/24V | |
| Driven Type | Engine Driven | Engine Driven | Engine Driven | Engine Driven | Engine Driven | |
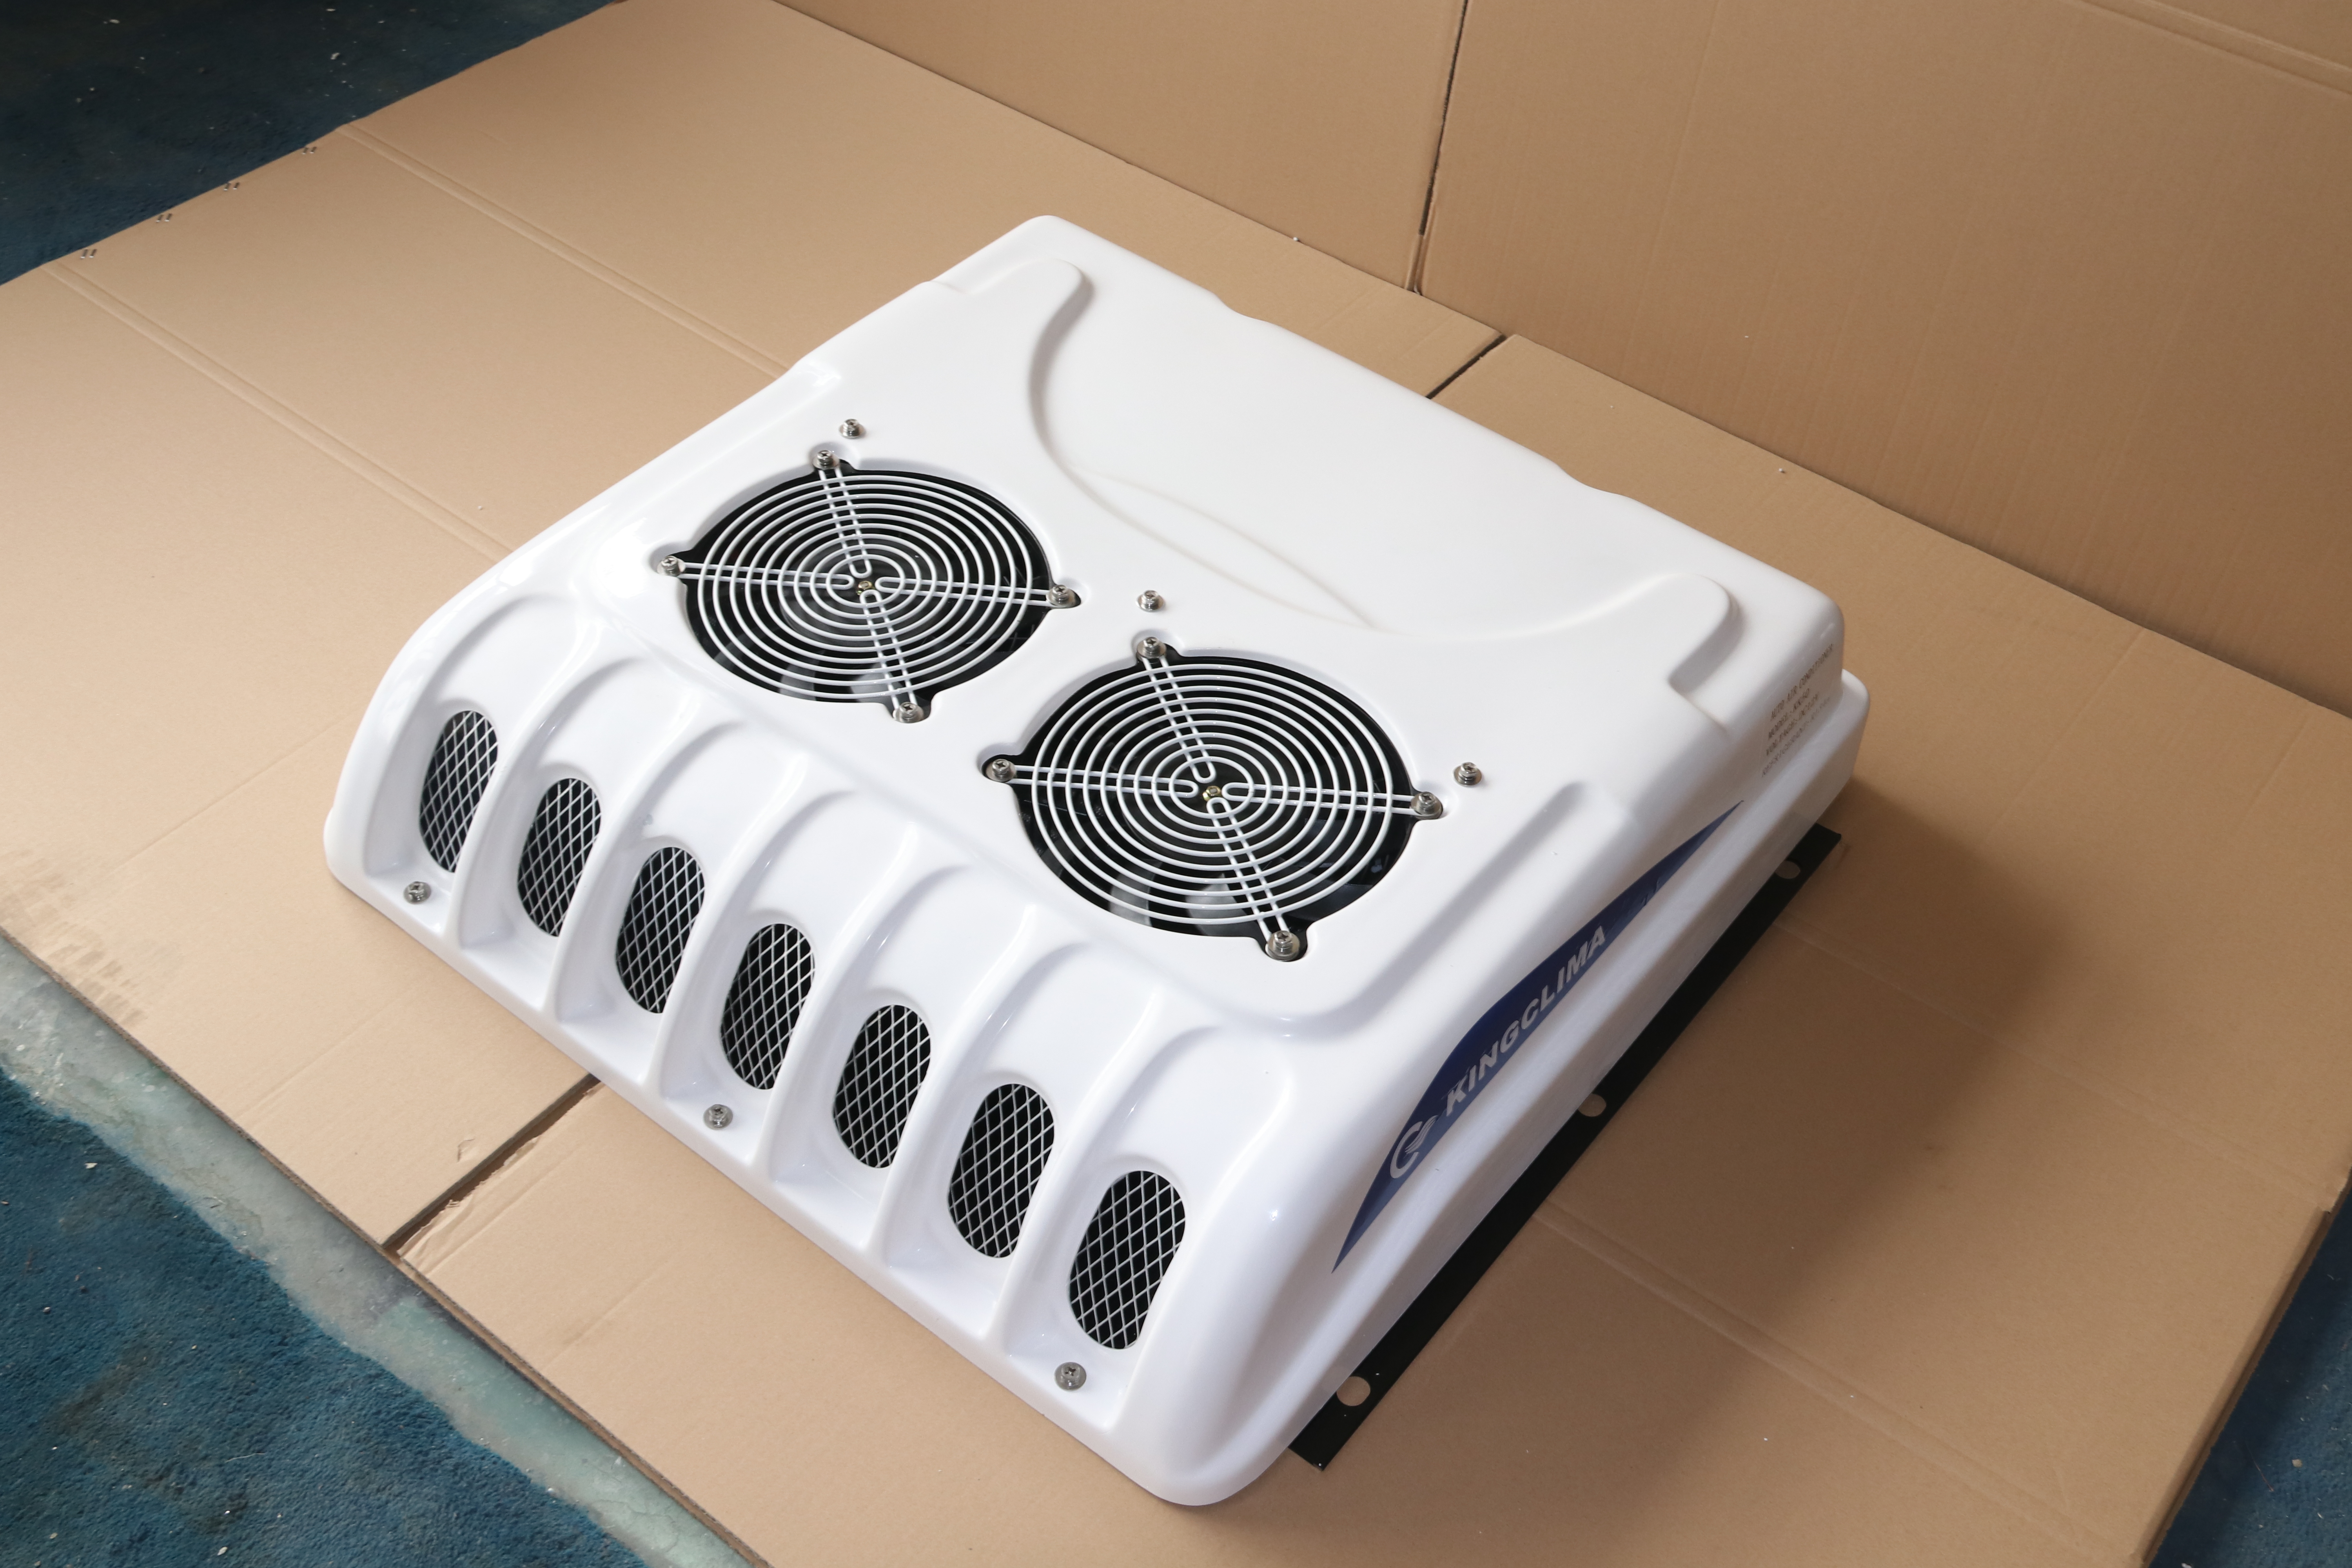
| Installation | Rooftop | Rooftop | Rooftop | Rooftop | Rooftop | |
| Condenser | Fan Qty | 1 | 2 | 2 | 2 | 2 |
| Air Flow Volume | 600m³/h | 680m³/h | 3800m³/h | 3200m³/h | 3800m³/h | |
| Evaporator | Blower Qty | 1 | 1 | 2 | 2 | 4 |
| Air Flow Volume | 750m³/h | 850m³/h | 2000m³/h | 2000m³/h | 2000m³/h | |
| Condenser Fan | Axial Flow | Axial Flow | Double axle and centrifugal flow | Double axle and centrifugal flow | Double axle and centrifugal flow | |
| Compressor | KC 5H14, 138cc/r | 5H14, 138cc/r | HL22, 212cc/r | Valeo TM21, 215 cc/r | HL32, 313cc/r | |
| Refrigerant | R134a, 0.8KG | R134a, 0.9KG | R134a | R134a | R134a | |
| Dimensions (mm) | 750*680*196mm | 755*745*190 | 1010*975*180 | 1660*1240*210 | 1520*1100*175 | |
| Application Vehicles | Rv Camper Motorhomes & Minibus | Rv Camper Motorhomes & Minibus | 6-6.5m minibus or caravans | 6-6.5m minibus or caravans | 6-6.5m minibus or caravans | |
II. Detailed Installation Steps for Air Conditioner for RV
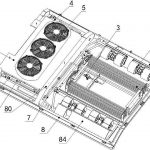
Whether for RV or minibus AC, installation can be viewed as the installation of four main modules: compressor, condenser, evaporator, piping, and electrical circuits.
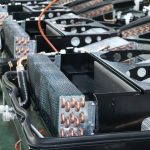
Step 1: Installing the Compressor
1. Located in the engine compartment, it is typically fixed to the engine block or frame using brackets.
2. The brackets must be sturdy enough to withstand the severe vibrations of the engine.
3. The pulley and engine crankshaft pulley must be aligned, and the belt tension must be appropriate (too loose and it will slip; too tight and it will wear the bearings).
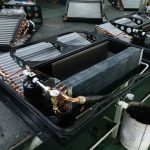
Step 2: Install the condenser
1. Integrate it with the evaporator into the roof unit.
2. Ensure sufficient air intake space in front of the condenser and smooth heat dissipation behind it.
3. The installation angle should facilitate condensate drainage.
Step 3: Install the evaporator and air duct
1. Precisely drill holes in the roof load-bearing structure according to the evaporator unit dimensions.
2. Use special sealing gaskets and screws to securely seal the evaporator unit to the roof. This is crucial to prevent leaks!