Air Conditioning Units for Campers Installation is a crucial and highly specialized step, directly determining the performance, noise level, and lifespan of the air conditioner. Below are the detailed steps, precautions, and a comparison of different installation methods for RV air conditioners.
Core Process and Key Points of Air Conditioning Units for Campers Installation
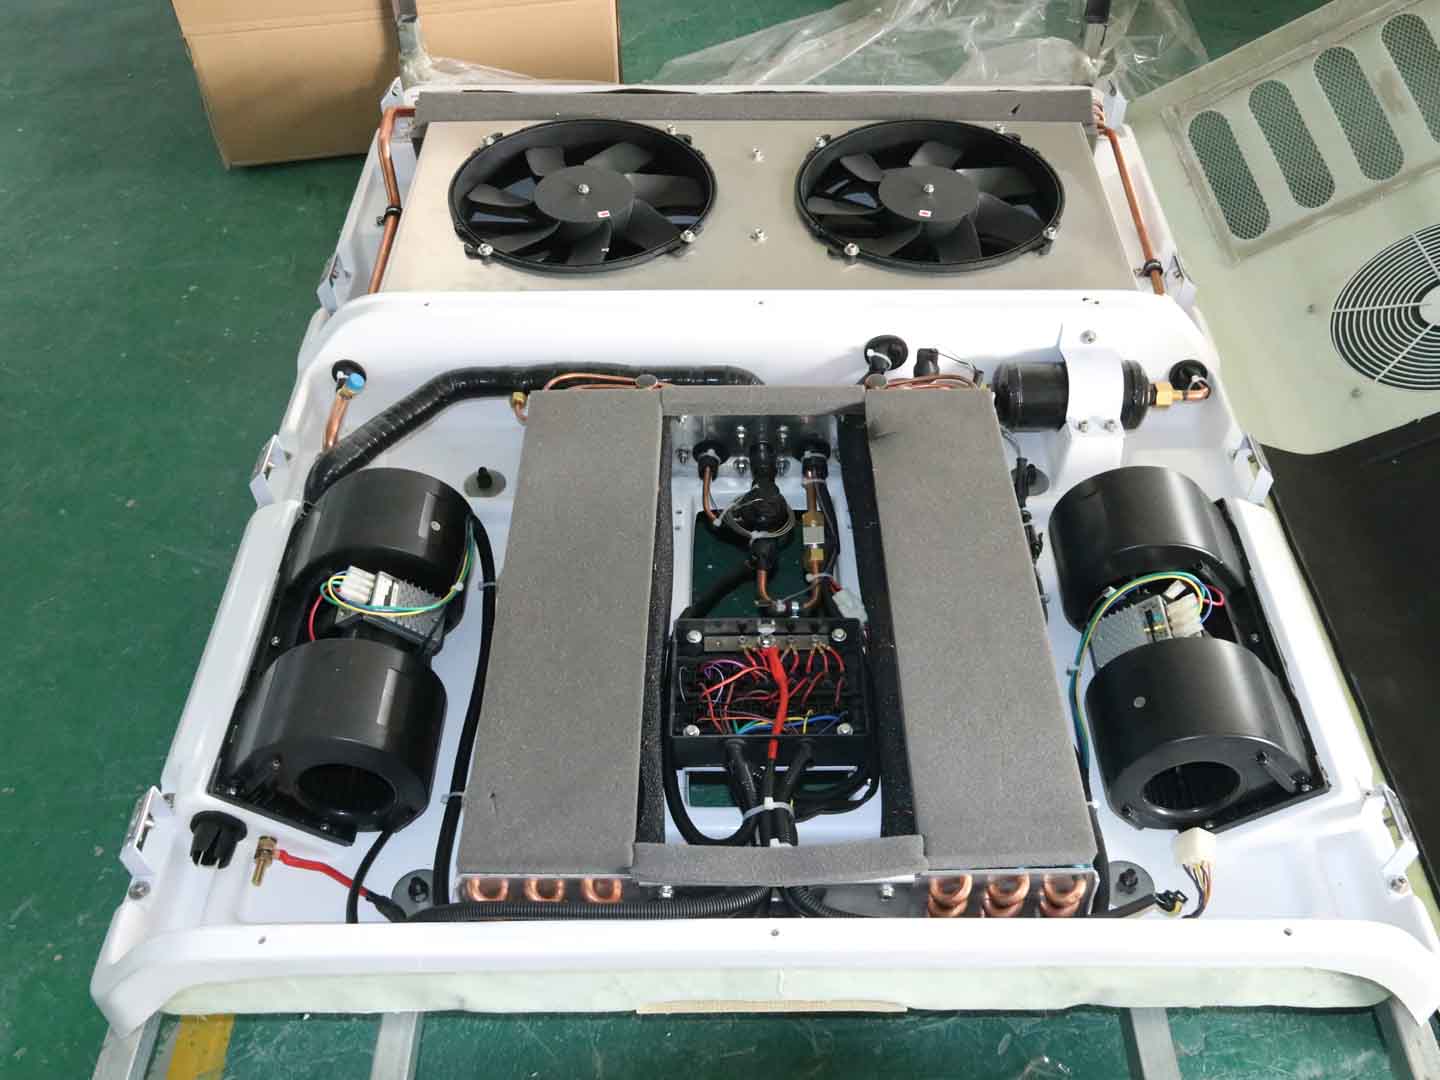
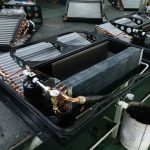
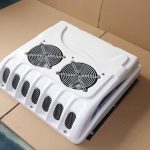
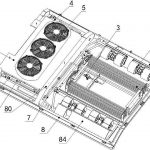
This installation method integrates all components of the air conditioner (compressor, evaporator, condenser, fan) into a single unit, directly fixed to the RV roof.
Installation Steps
1. Typically installed in the middle or rear of the RV roof, ensuring the indoor air outlet is centered in the living area (such as the living room or hallway) for optimal airflow distribution.
2. Precise measurements are essential, avoiding existing roof structures such as skylights, satellite antennas, solar panels, and reinforcing ribs.
3. Inside the vehicle, ensure there is sufficient space in the ceiling to install the interior trim cover, and that there is no furniture obstructing the view.
Opening Holes
1. Using the cardboard or plastic opening template provided by the AC for Rv manufacturer, accurately mark the opening outline on the roof.
2. Using a jigsaw or angle grinder, cut the roof along the marked lines. This is the most critical and irreversible step; ensure precise dimensions and smooth edges.
Sealing and Waterproofing
1. Apply high-quality RV-specific sealant (such as polyurethane sealant) to the edges of the mounting base.
2. Insert the air conditioner base into the opening and press firmly, ensuring the sealant overflows evenly from all sides.
3. Secure the base firmly to the roof from the inside using the included screws.
Electrical Connections
1. Connect the air conditioner power cord correctly to the RV’s 12V/24V/48V DC circuit according to the wiring diagram in the instruction manual.
2. Use the appropriate wire gauge and install the correct fuse.
3. All terminals should be capped or soldered and wrapped with electrical tape to prevent loosening due to vehicle vibrations.
Installing the Main Unit and Interior/Exterior Covers
1. Place and secure the Air Conditioning Units For Campers onto the installed base.
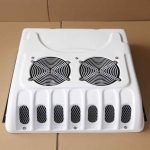
2. Install an interior decorative cover. This directs cool air to the sides or all around the vehicle and integrates seamlessly with the ceiling, ensuring an aesthetically pleasing look and preventing drafts.
3. Install a weatherproof cover for the outdoor unit.
Final Testing
1. Restore power and start the air conditioner.
2. Check the cooling/heating modes, fan speeds, and thermostat for proper functioning.
3. Ideally, conduct a water spray test to simulate heavy rain and ensure the roof openings are absolutely waterproof.
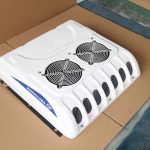
For new vehicle modifications or those prioritizing simplicity: Choose a roof-mounted integrated unit; this is the most mature and universal solution.
For those with extremely low noise requirements and who don’t mind complex installation: Consider a bottom-mounted unit.
Regardless of the chosen method, professional and meticulous installation is fundamental to ensuring the long-term stable operation of Air Conditioning Units for Campers. A good installation greatly enhances the comfort of your RV trip; a poor installation, on the other hand, becomes a source of endless trouble. For any questions regarding RV air conditioning installation, please visit www.busclima.com or contact busclima@kingclima.com for further technical support.
Related posts:
 Air Conditioning Units for RV and Minibus Air Conditioner
 Ac For RV Camper Market Analysis Report
 Air Conditioning for Motorhomes Manufacturing Process
 Similarities between RV Camper Air Conditioner and Minibus AC
 Camper Air Conditioner
 Camper Ac
 Ac For Camper and Mini Bus Ac Installation Steps
 Air Conditioner for RV Installation Steps
 Bus Air Conditioner is used for buses and medium-sized commercial vehicles