RV Trailer Ac Unit is designed for installation in medium-sized trailer-mounted motorhomes (typically 7-10 meters in length). It differs from the compact design of motorhomes and the extreme complexity of oversized trailers.
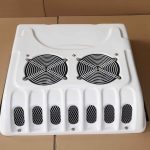
Before purchasing tools or contacting installers, ensure your cooling solution is finalized. A DC inverter rooftop air conditioner is the absolute first choice. Its energy-saving, quiet operation, and low-voltage start-up characteristics perfectly match the motorhome’s battery power supply.
Single unit option (e.g., 15,000 BTU): Lower cost, simpler installation, and lower power demand. Suitable for well-insulated, compact medium-sized trailers primarily used in temperate regions.
Battery capacity calculation: Taking a 1500W (approximately 13,500 BTU) inverter air conditioner as an example, its low-to-medium speed operation consumes approximately 600-800W. For a planned 8-hour run, it requires approximately 400-500Ah of 12V lithium battery (considering depth of discharge). If installing two units, the battery capacity must be at least 800Ah.
The main power line must be thick enough. For a single air conditioner, 10-16 AWG (approximately 6-25 mm²) copper wire is recommended; refer to the air conditioner’s instruction manual for specific details. Each air conditioner must be equipped with an independent DC air switch and fuse.
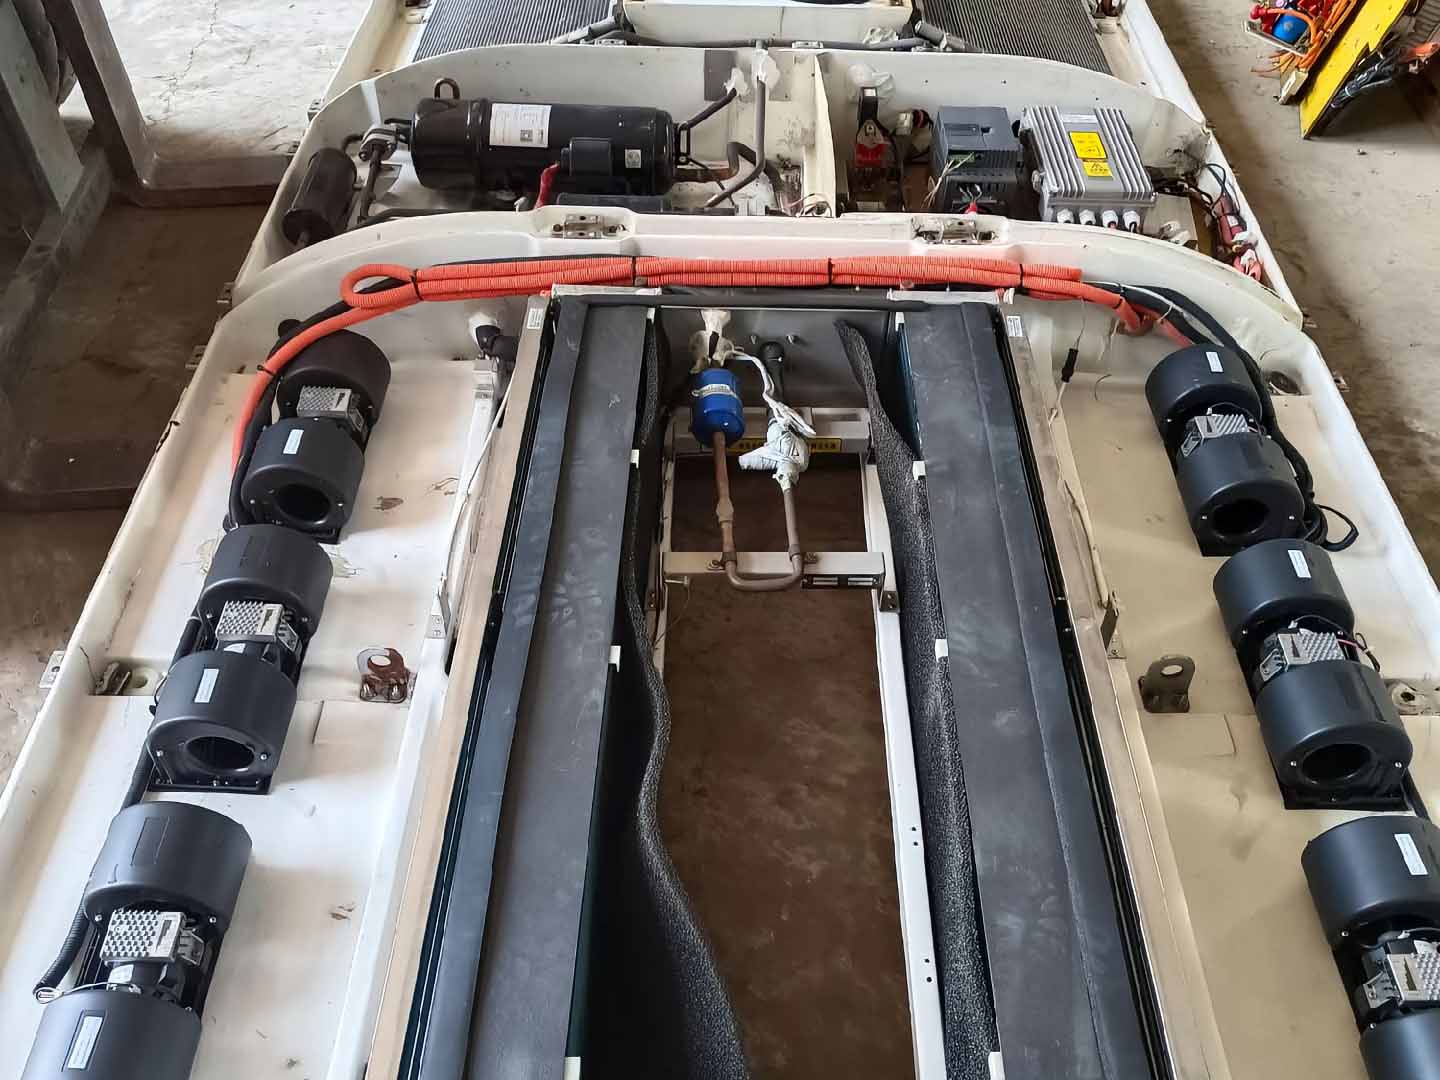
RV Trailer Ac Unit – Professional Installation Core Steps
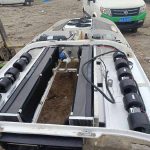
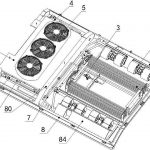
Locate the internal reinforcing crossbeam. The air conditioner must be installed on the crossbeam. If the crossbeam spacing is too large, additional reinforcing crossbeams need to be installed between the mounting points.
Install slightly forward of the center of the living area to facilitate rearward airflow.
It is strongly recommended that this be done by a professional RV mechanic. Below are the core procedures you need to know to supervise the quality of the work.
1. Positioning and Drilling: Locate the crossbeam inside the roof and position it precisely. Use a template to mark the opening lines on the roof and drill holes using professional tools.
2. Apply high-quality polyurethane sealant to the installation area. Place the air conditioner base on top and securely fasten it to the crossbeam using stainless steel self-tapping screws or bolts. All screw holes should be sealed with sealant.
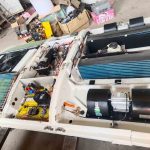
2. Use crimp lugs and heat shrink tubing on all terminals to ensure secure contact, insulation, and waterproofing. Install an air switch and fuse on the battery terminal.
3. Have a certified refrigeration technician vacuum the system using a vacuum pump (usually for at least 30 minutes), then precisely charge the refrigerant according to the nameplate specifications. Never use the system after “purging” the air!
4. Test all functions: cooling, heating, fan speeds, and temperature control. Check that the drain pipe is clear. After running for a period of time, re-check all seals and apply sealant if necessary. Conduct a water spray test to ensure absolute waterproofing.
Unless you are an experienced RV conversion expert, it is strongly recommended that you entrust the installation of the RV Trailer Ac Unit (especially structural fixing, electrical connections, and refrigeration system handling) to a professional RV service provider or an authorized air conditioning brand installation point. They have the correct tools, materials, and experience.
Obtain and retain documentation: After installation, request installation diagrams, circuit diagrams, a list of materials used, and warranty documents.
Prioritize a dual-unit solution: For medium-sized trailers, the value of a dual-unit solution in terms of redundancy, comfort, and long-term reliability far outweighs the increased initial cost and complexity.
In summary: Installing air conditioning in a medium-sized trailer is an art of balance—finding the optimal balance between cooling needs, power reserves, structural safety, and installation costs. Careful planning combined with professional execution will ensure that your trailer interior remains comfortable and cool for years to come, no matter how hot it is outside. Best wishes for a smooth installation!