how to charge auto ac? Replacing a commercial vehicle’s air conditioning unit is a systematic project, far more complex than that of a passenger car.
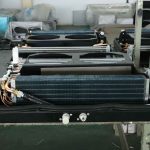
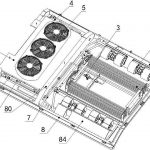
Before starting the replacement, a precise diagnosis by a professional technician is essential. Commercial vehicle air conditioning systems are typically powerful and complex, possibly including independent roof-mounted air conditioning units or multi-evaporator systems linked to the engine. The fault may be located in the evaporator unit inside the cab, the condenser unit on the roof or side of the vehicle, or the compressor assembly in the chassis area. Diagnosis requires a comprehensive assessment based on fault symptoms (such as no cooling, insufficient cooling, or unusual odors), pressure test data, electronic leak detection results, and electrical circuit checks. Once the faulty unit is identified, a precise matching of an original or high-quality replacement part must be made based on the vehicle’s brand, model, engine specifications, and body structure. A detailed work plan, including the work time, required specialized tools, and consumables, must be developed.
Safety Regulations and Old System Recycling: Safety is paramount for all work. Before work begins, the vehicle must be parked in a well-ventilated, level area, and strict adherence to vehicle electrical isolation procedures must be followed, typically requiring the main battery switch to be disconnected. The first step in the replacement process is the environmentally compliant recovery of refrigerant.
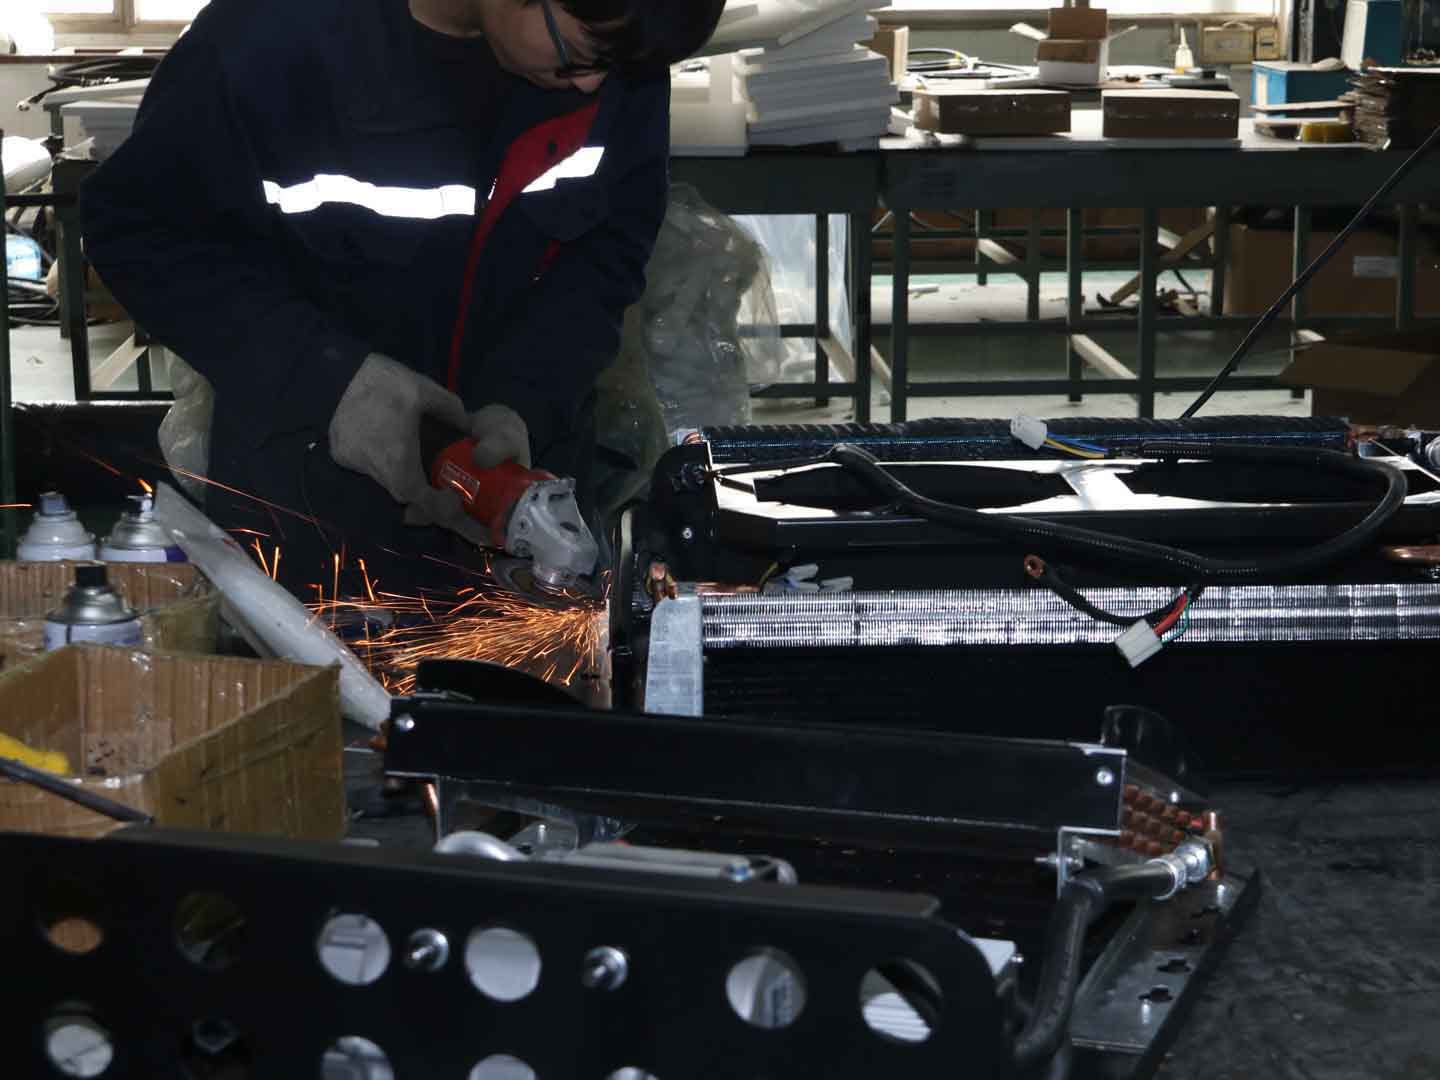
How to charge Auto AC? A certified refrigerant recovery and charging machine must be used to completely recover and store any remaining refrigerant in the system; direct release into the atmosphere is strictly prohibited. Then, disassembly should proceed in the order of “electrical components first, then piping.” For the evaporator unit, it may be necessary to remove some interior panels or dashboard; for the condenser unit, carefully remove the external grille or protective panel; for the compressor, loosen the drive belt or disconnect the coupling first. During disassembly, all wiring harness connectors must be marked, and all open refrigerant piping connections must be immediately sealed with dedicated sealing plugs. This is a crucial step in preventing contaminants from entering the clean system.
New Unit Installation and Sealing Control
The installation process is central to the quality of the repair. Before installation, the new unit should be checked for integrity and cleanliness, especially ensuring that the condenser or evaporator fins are not bent or blocked.
How to charge Auto AC? During installation, all O-rings on the connecting pipes must be replaced, and lubrication with system-compatible refrigerant oil must be used. This is the foundation for establishing a reliable seal. When installing the compressor, ensure its mounting bracket is secure and adjust the belt tension strictly according to the technical manual (using a special tool for measurement). Incorrect tension is one of the main causes of premature compressor damage. When installing the condenser unit, ensure there is a proper clearance between it and the engine radiator to ensure unobstructed airflow. All pipe joints and fixing bolts should be tightened using a torque wrench according to the torque values specified in the maintenance data to prevent leaks or damage caused by improper torque.
Deep Vacuuming and Precision Charging: After reassembling the system and confirming that the mechanical connections are correct, a deep vacuuming and precision charging must be performed. Connect the dual-gauge manifold gauge to the high and low pressure service valves of the system, with the intermediate pipe connected to the vacuum pump. Start the vacuum pump to perform vacuuming for at least 45 minutes to 1 hour; longer for large systems, this time is required to completely remove moisture and air from the system. Then perform a pressure test and leak check, closing the valves and observing whether the pressure gauge reading remains stable within the set time. Only after confirming that the system is absolutely sealed can refrigerant be charged. According to the refrigerant type and charge quantity specified on the vehicle’s nameplate or manual, use an electronic scale for precise weight-based refrigerant charging. During the charging process, the engine must be started, the air conditioning or Ac For Rv turned on to maximum cooling mode, and the changes in high and low pressure and air outlet temperature must be monitored in real time to ensure that dynamic parameters meet the standard range.
Comprehensive Performance Verification and Delivery Confirmation
After charging, a rigorous full-load performance test and final inspection must be performed. Under standard ambient temperature, the stable temperature of the central air outlet should be measured, typically reaching the ideal range of 8-12 degrees Celsius. Simultaneously, check the smoothness of the compressor clutch engagement and disengagement, listen for any abnormal noises in the entire system (including the fan and compressor), and observe whether the condenser fan’s operating logic is normal.
How to charge the auto AC? Use an infrared thermometer to scan the surface temperature of each component to help determine if the airflow is smooth. Finally, a high-sensitivity electronic leak detector must be used to perform a final sealing check on all repaired interfaces. A short road test is recommended to simulate the stability of the air conditioning system under high-load conditions such as climbing hills and idling. Given that commercial vehicle air conditioning systems are crucial to driving safety and operational efficiency, it is strongly recommended that this work be outsourced to a service provider with heavy vehicle repair qualifications, professional equipment, and extensive experience to ensure the long-term reliable operation and cost-effectiveness of the system.