How to charge an air conditioner in a car or minibus? This is a major, systemic project, far more complex than simply replacing parts.
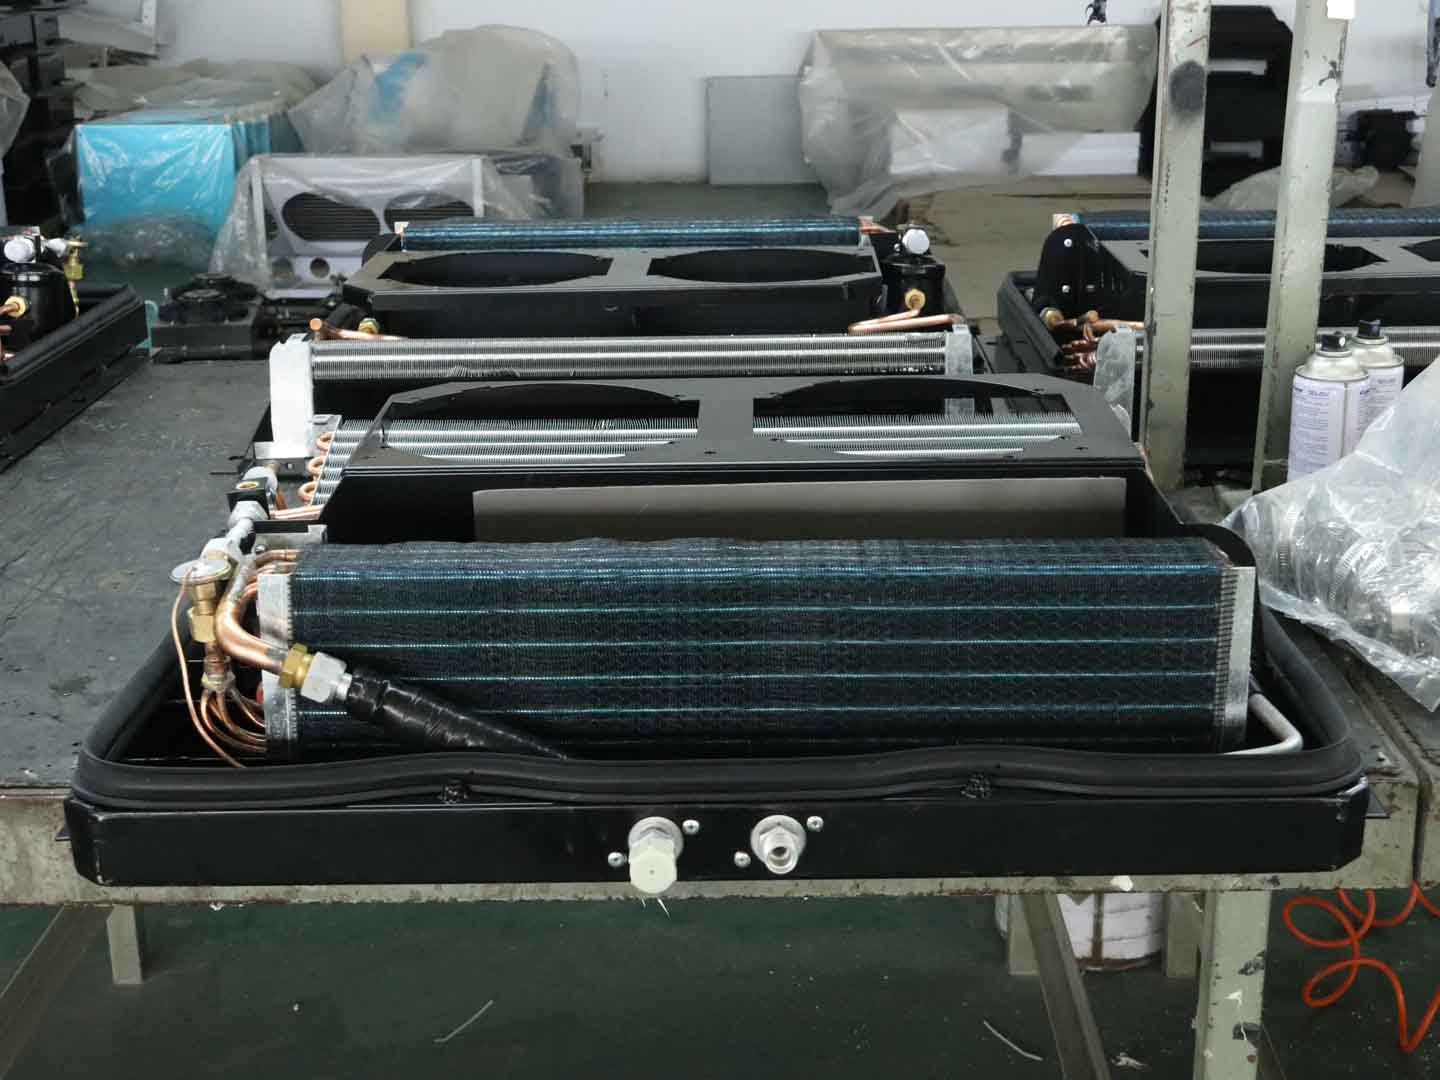
The first step in considering replacement is accurate diagnosis. An air conditioning system consists of several core components, including a compressor, condenser, evaporator, expansion valve, and piping. While symptoms may be similar (e.g., no cooling), the root causes can be vastly different. Professional pressure testing, electronic diagnostics, and visual inspection are essential to determine whether the problem is a single component (e.g., a stuck compressor) or system-wide aging (e.g., severe corrosion and leaks in the piping). For minibuses, the larger interior space and potential dual evaporators (front and rear) further complicate the system. When developing a solution, the diagnostic results and vehicle manual must be consulted to determine whether to replace the entire system or only parts. Original or reliable parts must be strictly selected to ensure compatibility. Misjudgment at this stage will render subsequent work futile and result in significant waste.
how to charge air conditioner in car – Professional disassembly and system recovery
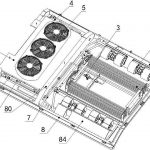
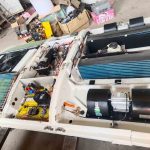
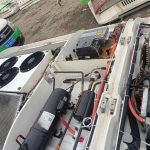
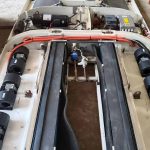
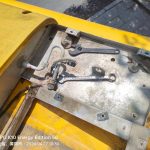
Only after determining the replacement plan and gathering all necessary parts and specialized tools can the operation begin. Safety and adherence to regulations are paramount throughout this stage. The first step is not simply removing the screws; it requires using an environmentally certified refrigerant recovery machine to completely and safely recover any remaining refrigerant from the system—a legal and environmentally mandated requirement. Afterward, disconnect the vehicle’s negative battery terminal. Disassembly should follow a scientific sequence: typically, first remove the compressor drive belt, then, starting with the compressor, disassemble the high and low pressure lines, condenser (located in front of the radiator), receiver-drier, and finally the evaporator assembly in the passenger compartment. During disassembly, every pipe and electrical connector must be marked or photographed, and all exposed pipe openings and component interfaces must be immediately sealed with specialized sealing plugs to absolutely prevent moisture and dust intrusion—crucial for ensuring the lifespan of the new system.
how to charge air conditioner in car—New Part Installation and Sealing
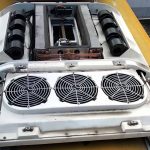
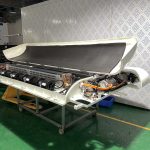
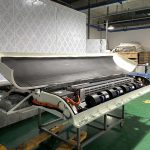
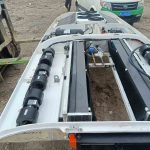
Installation is the reverse of disassembly, but the requirements are far higher. All new components should be checked for cleanliness before installation, especially the condenser and evaporator fins. The golden rule for installation is: replace all O-rings and lightly lubricate the new O-rings with a system-compatible refrigerant oil before connecting them. When installing the compressor, ensure its base is securely installed, the pulley is aligned with the other gearbox planes of the engine, and the belt tension is adjusted according to the manual; too loose or too tight will cause malfunctions. When installing the condenser, ensure there is adequate clearance between it and the radiator to prevent interference with fan operation. When connecting all pipes, use a torque wrench to tighten to the manufacturer’s specified torque to avoid leaks due to insufficient torque or damage to joints due to excessive torque. For vans, when laying long rear air conditioning pipes, pay attention to the position of the fixing clips to prevent friction with the vehicle frame.
how to charge air conditioner in car – Vacuuming, leak testing, and metered filling
After all components are installed and connected, the system must undergo rigorous sealing verification and drying; this is the most critical step in determining the success of the repair. Connect the high-pressure and low-pressure gauges to the high and low-pressure service valves of the system, respectively, and connect the intermediate pipe to the vacuum pump. Start the vacuum pump and continuously vacuum for at least 30 minutes; for larger systems such as those in vans, this may take longer. This is to remove air and moisture from the system. Then close the valve and perform a pressure test to check for leaks, observing whether the pressure gauge reading remains stable within 15 minutes. If the pressure rises again, an electronic leak detector must be used to locate and repair the leak. Only after confirming the system is absolutely sealed can the refrigerant filling procedure begin. Weigh out the precise amount of refrigerant and the necessary amount of refrigeration oil according to the vehicle’s nameplate or manual, typically adding it slowly from the low-pressure side in liquid or gaseous form. Simultaneously start the engine and turn on the minbus air conditioner at maximum fan speed, monitoring the high and low pressure gauge readings in real time to ensure they ultimately stabilize within the manufacturer-specified normal range.
how to charge air conditioner in car – Performance Testing and Final Confirmation
After filling, a comprehensive performance test and operational verification must be performed. First, with the air conditioner running, use a thermometer to measure the temperature of the central air vents. At an ambient temperature of 25-35 degrees Celsius, the vent temperature should be within the range of 8-12 degrees Celsius. Second, visually inspect the sight glass of the dryer bottle; there should be no continuous bubbles. At the same time, listen to whether the compressor operates smoothly and without any abnormal noise; feel if the vehicle body shakes violently when the compressor engages; check if the condenser electric fan starts and stops normally. Finally, be sure to use a leak detector to perform a final check on all repaired interfaces. After all tests are passed, it is recommended to conduct a road test to simulate the air conditioning performance under various operating conditions such as driving and idling. It is important to understand that the efficiency of the air conditioning system depends not only on the installation but also on the engine condition and the state of the cooling system. Therefore, for most car owners and ordinary repair technicians, due to its high degree of specialization, stringent tool requirements, and significant impact on safety, it is strongly recommended to entrust this work to a certified automotive air conditioning repair shop equipped with professional equipment.
Related posts:
 Bus Air Conditioner is used for buses and medium-sized commercial vehicles
 how to charge ac system in car
 Rv Ac Unit Repair
 Introduction to Ac For Bus
 Motorhome Air Conditioning Repair
 Motorhome Air Conditioning and Minibus Manufacturer Matching
 How Coaches HVAC Works & How to use Coaches HVAC
 Air Conditioner In Camper
 Camper Air Conditioning Repair
 Ac For Camper and Mini Bus Ac Installation Steps
 Fixing Rv Air Conditioner
 Bus Con Supplier reminds all bus owners to clean BUS AC
 Carrier Bus Air Conditioner
 Bus Air Conditioner Supplier
 Bus Ac System Manufacturer
 How Air Conditioner For Bus Works
 Air Conditioner For Bus
 Bus Air Conditioning Maintenance